
Instructions - Part 9
Using Your Database

Now that you've analyzed your problem, it's time to put your data to work for you. But first you'll have to know to operate a few important features of the MySolver™ database program.
Database Tables Hold Your Data
The data that you've entered is stored in database Tables. You can search, sort, and filter your data in the database table.
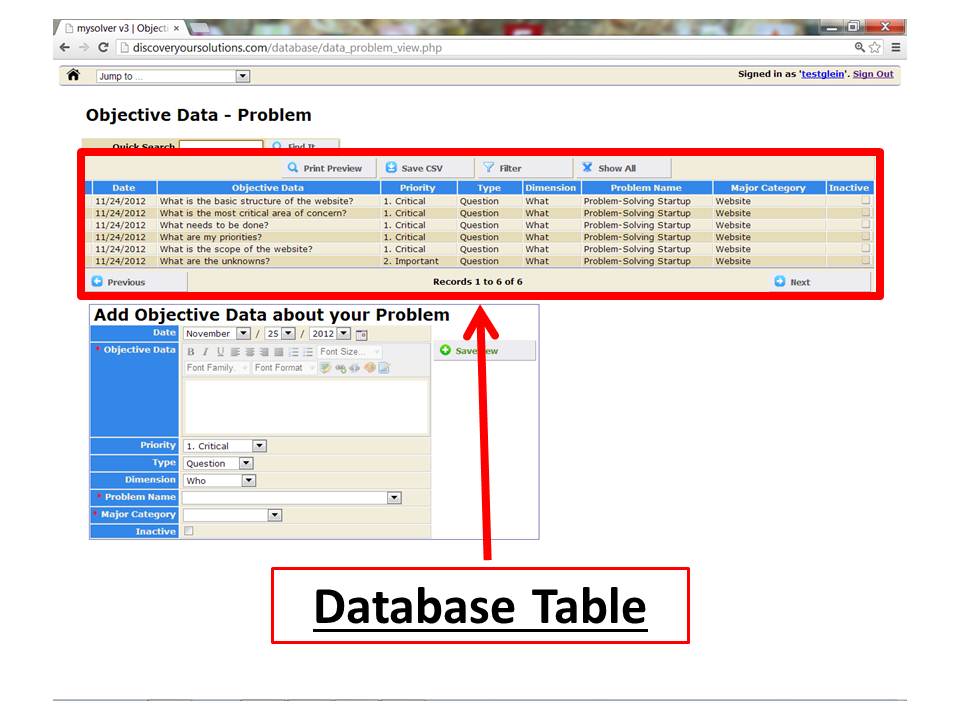
Screenshot of the database Table for the MySolver™ database (click to enlarge).
Quick Search
Use 'Quick Search' to search for keywords within your database. Only the records that contain the keyword will be displayed in the table.
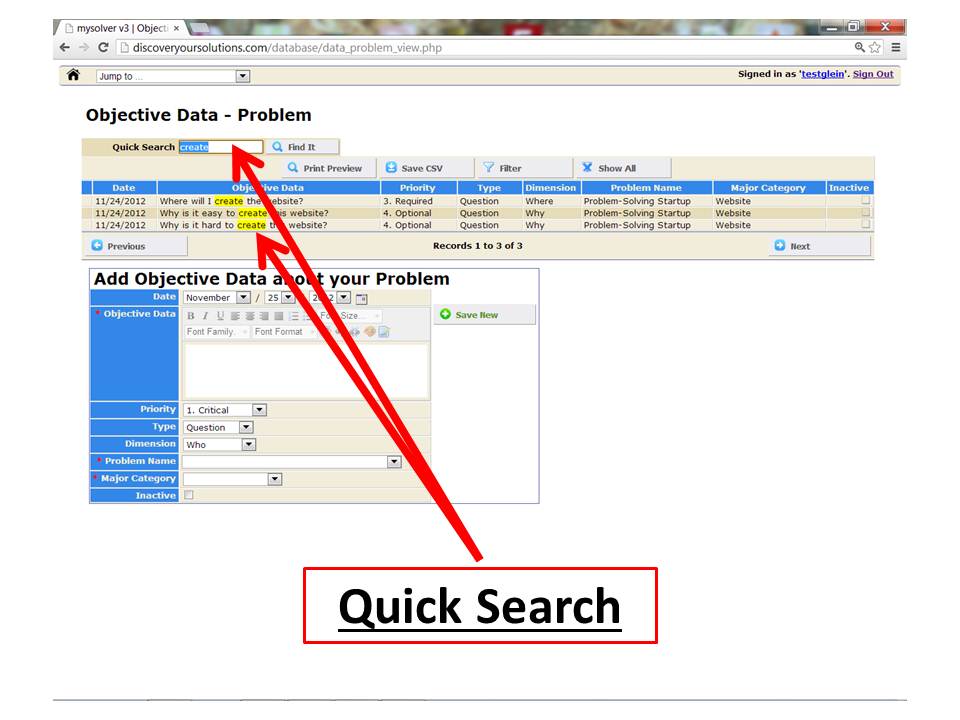
Screenshot of Quick Search for the MySolver™ database (click to enlarge).
Sort Your Data
Sort your information by any field. Each field in the table can be sorted in ascending or descending order.
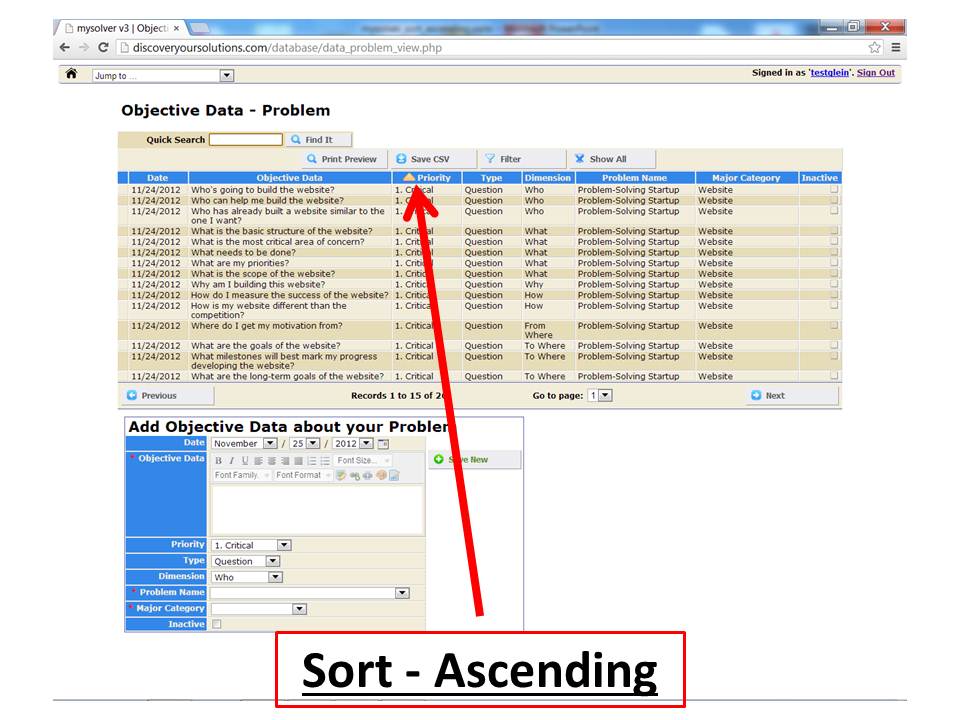
Screenshot of a simple ascending sort (click to enlarge).
If you want to sort your data by more than one field use the advanced sorting feature. You can sort your information by up to 4 fields. You can find this feature below the filters section on the filter page (press the filter button).
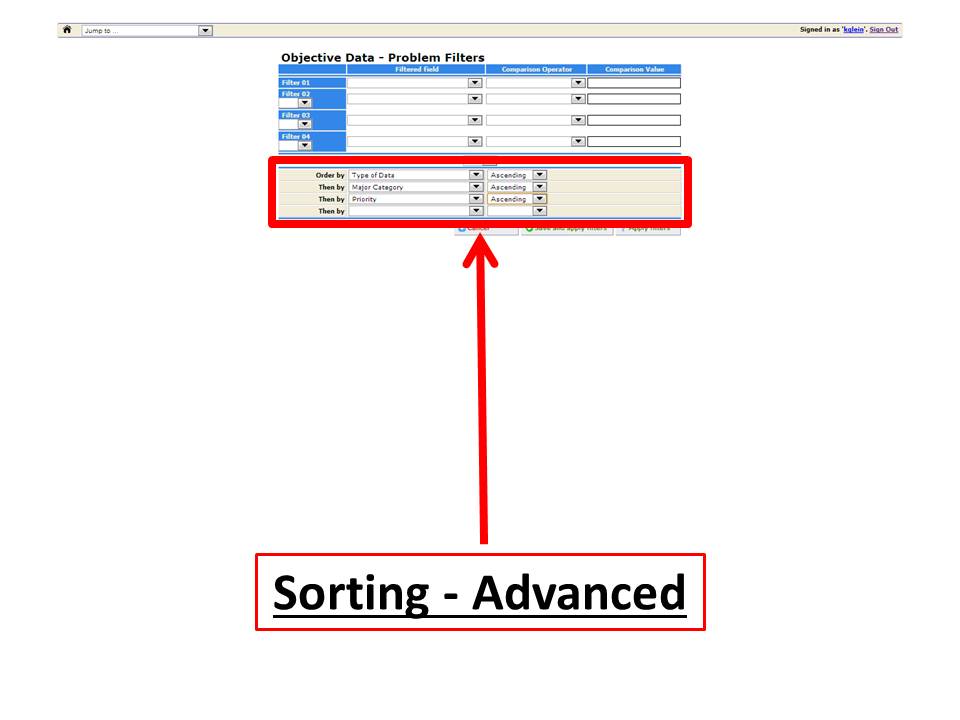
Screenshot of the advanced sorting function for the MySolver™ database (click to enlarge).
Filter Your Data
MySolver™ offers you an extraordinary Filtering system. You can set up to 12 filters simultaneously.
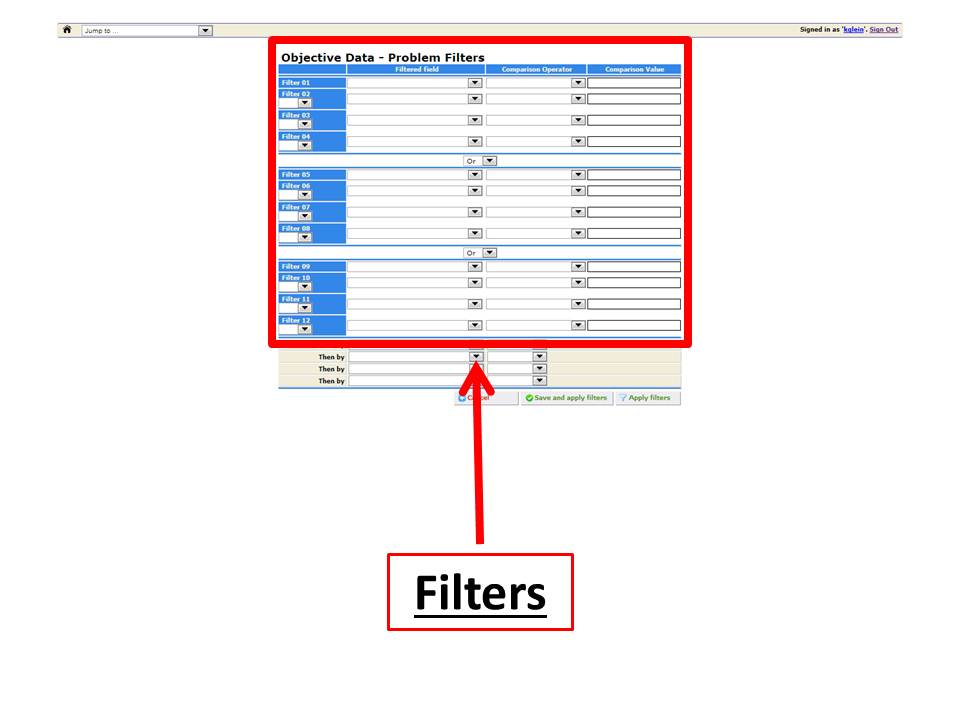
Screenshot of Filters for the MySolver™ database (click to enlarge).
Download Your Data
Use 'Save CSV' to download your data into Excel (or other spreadsheet). Technically, it converts your data into a CVS (comma-separated values) or comma delimited format, so you can export or extract it. This gives you easy access to your data for external use.
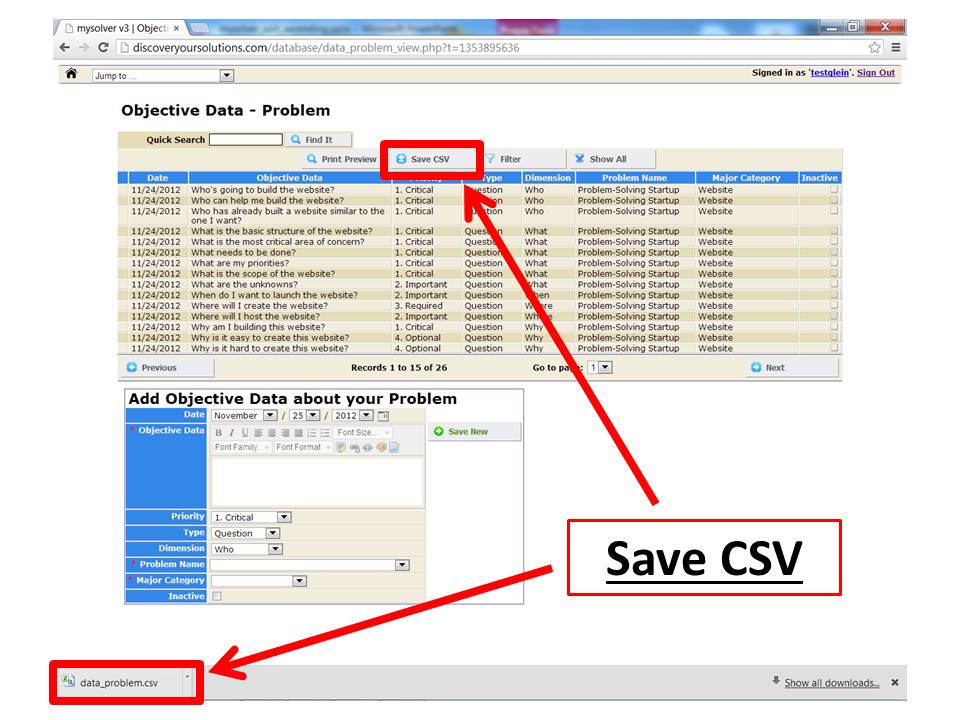
Screenshot of 'Save CSV' for the MySolver™ database (click to enlarge).
Print Your Data
Print your data from the MySolver™ database tables. You can print out the whole data table or just the what you've searched, sorted, or filtered.
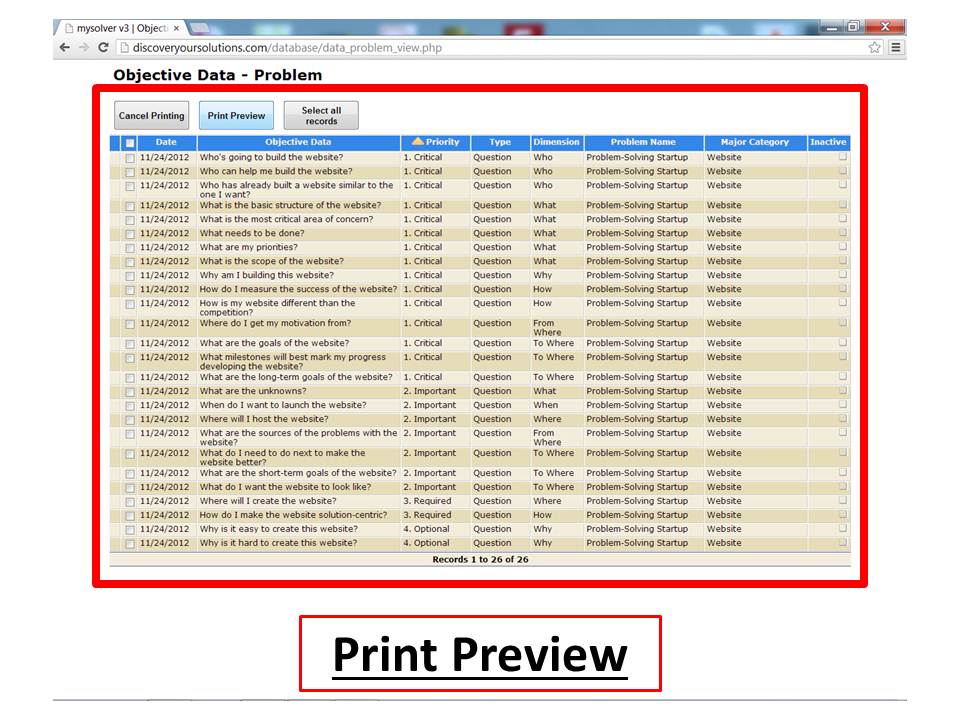
Screenshot of Print Preview from the MySolver™ database (click to enlarge).
Create a List Key Questions
Step 1: Create a list of your Key Questions. An example of a list of key questions for a major category would be to use advanced sorting (on the filter page): order by Type=Question, then by Priority=1)Critical, then by Major Category=(your choice). You can then print out the table with your list of key questions.
Find Answers to Your Questions
Step 2: Find answers to your key questions. Once you've got your lists of key questions then you can effectively use your time to research and develop answers to your most important questions first.
Step 3: Enter your answers into the database (using Objective Data - Problem) and select Type=Information.
Create a List of Tasks
Step 4: Create a list of Tasks. You can use the sorting features to make a list of your tasks, too. If you've using an external Task Manager, you can use the Save CSV feature to download your tasks.
Step 5: Review your list of tasks and decide how you're going to organize them.
Step 6: Once you have completed a Task you can mark it as 'Inactive'.
Go to the next step, click Create Your Solutions.

Click to return to Instructions Main Menu.
